What can you do with a box?

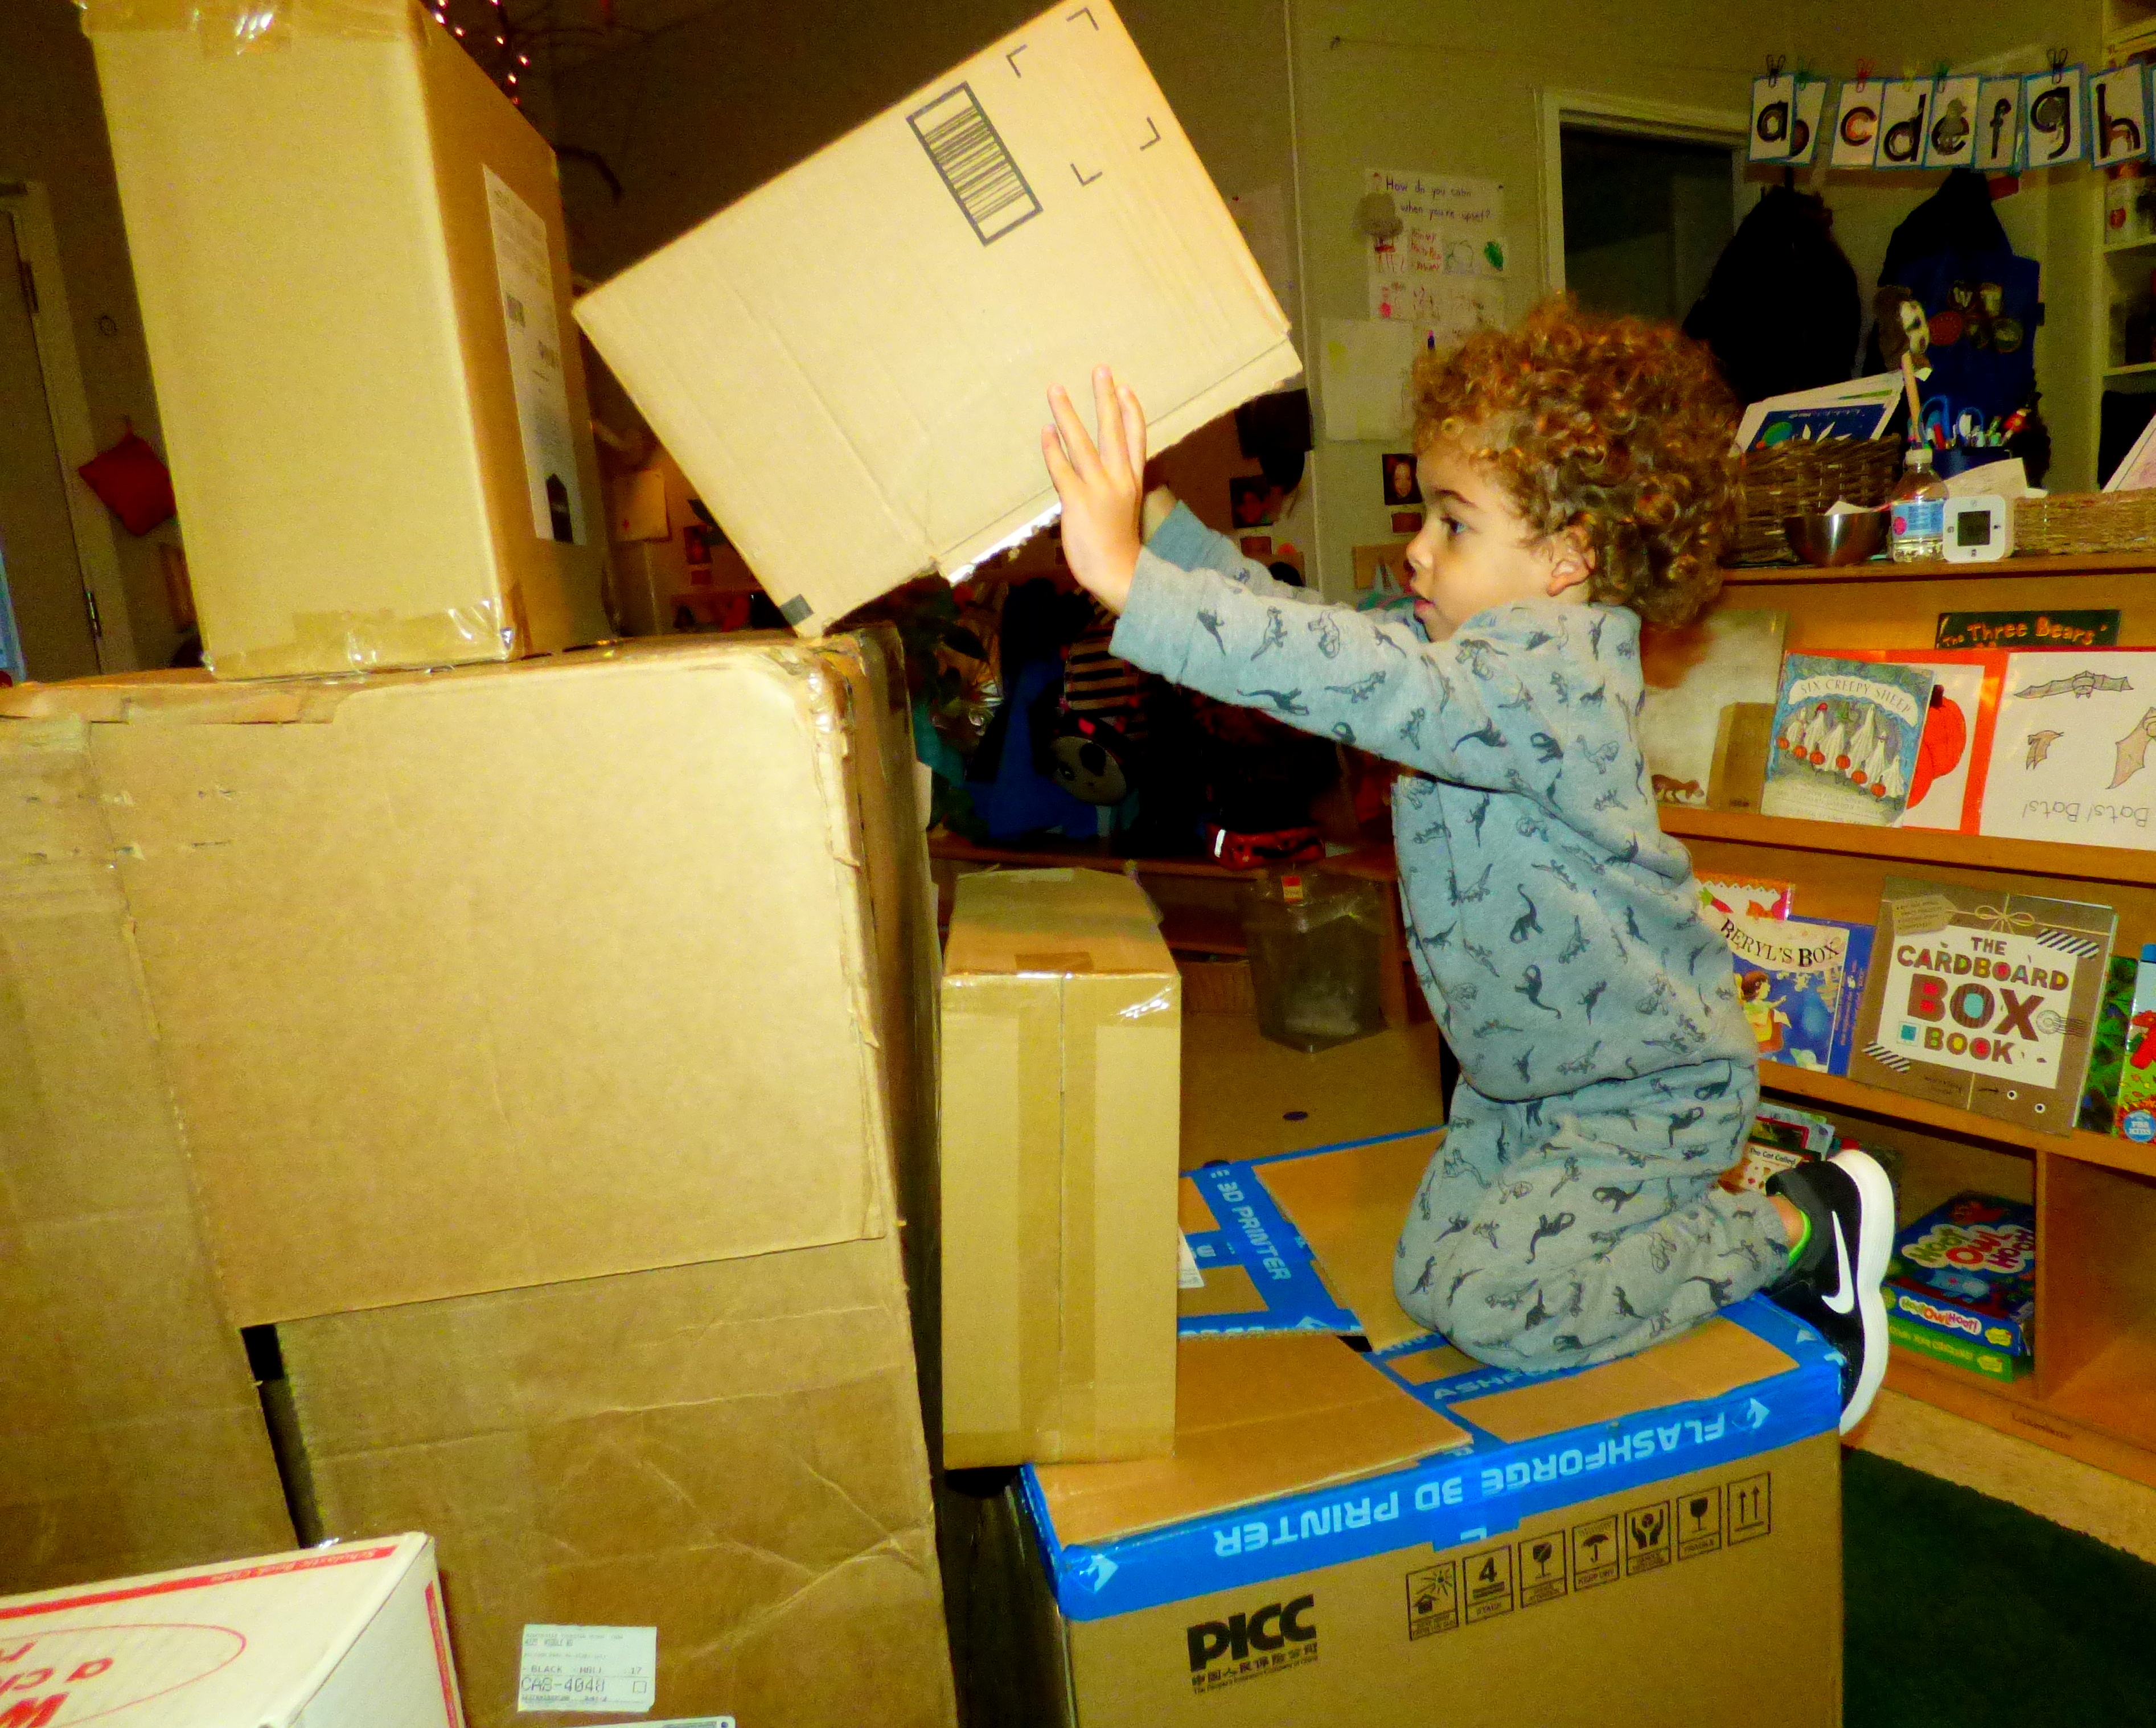
One of our favorite pastimes in Pre-K is inventing something new with a box.  This fall, we had a huge assortment of boxes at our disposal.  Before we began designing, we read both Jane Yolen’s What to Do With a Box and Dana Meachen Rau’s A Box Can Be Many Things.  We realized that there were so many possibilities, it would be hard to choose just one giant project.  To help us narrow our focus, we closed up all of the boxes and pretended they were blocks, instead.  After some preliminary “block building” with the pieces we had on hand, a few ideas came to the forefront.
P1270732

Options provided by the children included a boat, a rocket, a cat, and a castle.  One morning, we all voted to find out which design we should choose.  At ten votes, creating a castle was easily the most popular choice.

In the past, we’ve always depended upon duct tape for our box construction needs.  This morning we began using some new child-friendly box tools.  While the hand saws were fun to use, they were a bit difficult for our Pre-K hands to manipulate.  However, I was quite impressed with the resilience of the many that returned to using the saws again and again.  The screws and screwdrivers were much more comfortably applied.  In fact, you might notice that many screws grace our castle as pure decoration.

When the final walls had been battened down, groups of children went off on their own to create accessories.  So far we have a chair, a trash can, and two mailboxes.  Signs and flags were also quickly posted on the structure.

It’s hard to believe this entire project was put together in one morning.  I wonder what direction it will take tomorrow?

Castle Mural Part II

Our castle mural was completed during the last few weeks prior to winter break.  You can see that we’ve added wooden fairies, paintings of the royal families, boats, and trees.  Along the sides you will also find dragons fully designed by the children.  These are flying along the edges so that they may protect the castle.

Castle Mural Part I

As part of our fairy tale study, we began constructing a large mural that includes a castle.  The main background was painted light blue by the students to represent the sky.  Next, we used texture rubbing plates to create a large variety of bumpy blackish-brownish papers.  After our discussion of symmetry and our block printing experience, I cut the texture papers into block shapes and the children designed our castle.  Each child picked two each of two shapes and placed them symmetrically on the castle.  They created towers, walls, overhangs, and turrets.

This activity was followed a day later with a discussion about how our project looked thus far.  We looked at it critically and tried to decide if it was missing anything.  It seems that it still needed windows, a gate or drawbridge, trees, towers, a moat, and lots of creatures.  The children decided we had a long way to go before we could call this project “done”.

Our next step was completed by my Thursday afternoon crew.  They each painted grey two paper towel tubes cut to resemble towers.  The children used double-sided wall mounting strips to place them on the castle.

Finishing up our background, the students remembered that the castle needed a moat.  It sort of looked like it was floating in the air without one.  We used torn tissue paper and watered-down glue to add a layer of “water” to the bottom of our mural.

Our next endeavor will be to populate our castle.  Who do you think belongs in our mural?  What else are we missing?

Symmetrical Sand Castles

While talking about castles last week, we learned a very exciting, new “math word”: symmetrical.  We were planning our sand castles when we realized that most of us wanted both sides of the building to look the same.  I pointed out that our bodies were also symmetrical.  After practicing symmetry with blocks on the carpet, we got right to work on the important task of sand castle construction.

To create our structures, we used a variety of wooden blocks dipped in white paint.  We made prints using the blocks working from the inside to the outer edges.  Sometimes we had to “double-dip” the blocks to make sure that we picked up enough paint so that our prints would remain wet for a little while.  After the students completed their designs, they chose colored sand to shake over them.  The first few chose one color each while the last few preferred rainbow coloring and used a bit of all of the colors.