The Hillman Hall of Minerals and Gems

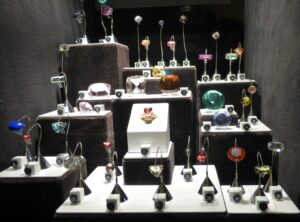
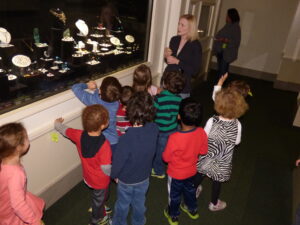
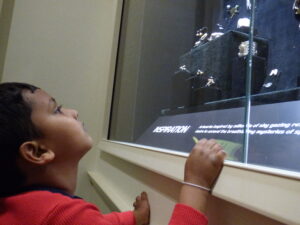
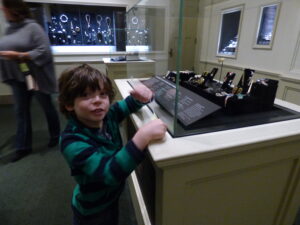
Today, our class took our first field trip to the Hillman Hall of Minerals and Gems to learn more about what types of materials are used to make jewelry. As we walked through the exhibit, the students noticed the many similarities and differences between the various rocks and gems. Some were smooth and round while others were rough and jagged. There were many different colors and some specimens had several types of crystals existing on one rock. We learned that some rocks come from cooled lava and others come from sand. We even got to see some rocks glow under a UV light and were surprised to see that they glowed different colors. We also had a chance to see what the gems look like when they are polished and cut so that they can be used for jewelry. Many students were surprised how many different types and colors there were.

While the trip helped the children to see the variety of materials that are used to make jewelry, it also opened the door for new questions for us to answer. Where can you find gems other than in caves? What are the gems made from? How do they cut the gems? How do they get the gems to stay inside the jewelry? These are all wonderful questions that we hope to answer as we move forward in our study of jewelry.

What do you want to learn today?

When we returned from winter break on Monday, we discussed what our next topic of study should be.  Surprisingly, there was really only one suggestion and it was agreed upon by all immediately: Colors.  This actually grew out of a discussion we had many weeks ago, yet the ever-amazing children recalled it quickly when I asked what they wanted to learn about.  Thus, this week we’ve been exploring colors.

Our first experiment involved large chunks of ice that we found in the sleds outside.  Each child had their own piece.  The center of the table held a container of liquid watercolors in blue, red, and yellow, each with droppers for testing.

The children choose which colors they wanted to try and began dropping colors onto their ice.  Some of them chose to use the same color repeatedly, ending up with a solid color of ice.  Others mixed two colors and made loud exclamations when they realized that they had made a new color.  A few quickly used all of the colors and wanted to know why the water under their ice was “black”.

Our next project was creating a rainbow using tissue paper and watered down glue.  We used the three primary colors to create each of the colors we needed.   Although the test version of combining light blue, yellow, and red tissue paper made lovely versions of purple, orange, and green, our actual dry rainbow’s secondary colors are a bit hard to pick out.  However, the children were just as excited as they painted the glue on when the two wet pieces mixed and created a new color.

The most gooey of the projects this week was definitely our color equations. Following a discussion about primary colors, each child picked two primary colors which were then painted on their hands.  Each color was then printed on a large sheet.  Hands were rubbed together vigorously, followed by a third hand print.  Plus and equal signs were added later.  We completed this activity by sharing our findings and learning that these new colors are called secondary colors.