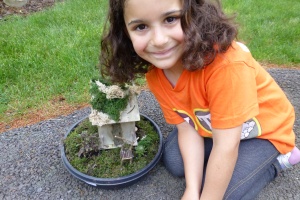
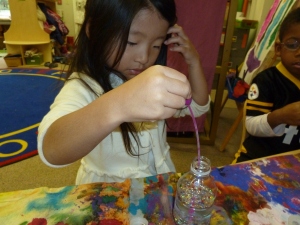
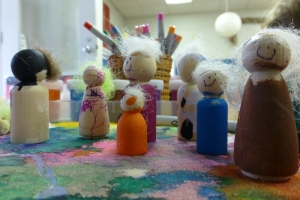
 We just wrapped up our third season of Gnome and Fairy Camp at WT Summer Camp! We’ve been quite busy creating gnome families, pin fairies, and a fairy garden for them all to explore. Each child is taking a garden home with them to play with throughout the summer.
Since this is my third year with this camp, I’ve learned a few things about fairy gardens along the way. In the past, we attempted to sow the dirt with oat grass seed after we placed the house and the stone pathways. This year we went for a more traditional moss look. The moss was lovingly transplanted from my own yard, so we’ll just have to wait and see if it survives the move. It is more important for the children to enjoy playing with their gardens than looking at them, anyway.
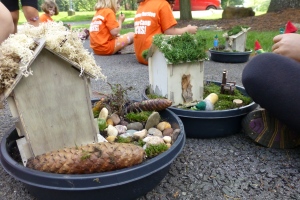 I also changed the design for the fairy/gnome home. In the past, I have recycled McDonald’s individual milk jugs. I cut a small door way in the front and hot glued a felt mushroom cap onto the top. The sides of the jug were painted with glue and rolled in sand or dirt to give it that rustic feel. This year we used bird house kits instead. After painting them with greenish-brown watercolors, the children added details collected on a trip through our woods. They used pieces of bark to create magical fairy doors that can only be opened by fairies and gnomes. On the roof, we glued on fake moss found at a local craft store.
The gardens contained more pieces from our collection of gathered items. Some of the children chose to stand pine cones up-right to form trees. A few found sticks that made wonderful facsimiles of the same. Their gardens could live happily inside or out.
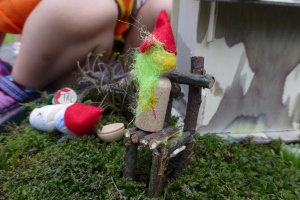 While we were all at home last night, an amazing thing happened. It appears fairies visited and found our gardens acceptable. They left behind their tell-tale pixie dust as well as a small wooden bowl and a handmade, tiny chair! The children kept trying to peek inside their houses to see if the fairies might still be in residence.
Spoiler Alert!!!!
So this is the first year I have attempted to make fairy furniture. A bit of a warning if you choose to take on this hobby: it is extremely addictive. This year I only taught one morning class and had my afternoons free. This gave me the time to experiment and produce enough furniture for all of the children. If you’d like a tutorial for building your own chairs and other furniture, you can find it at Kleas. When I finished the chairs, I still had a lot of left over trimmed wood pieces. What followed was a bit of obsessive creation. I was inspired by the piles of bark, the long pieces of dried vine, and the Y shaped sticks we’d collected. Thus a couch, a bed, and a hut were born. Beware of large rainstorms, however. I did discover that the fairy sap (i.e. hot glue) used to build the furniture does not hold up well when the wood gets overly wet. (If you are interested, I did fix a few of the fairies first attempts with some wood glue.)
I can’t wait for next year. I’ve been inspired by the camps that Kleas does as well as a few others I came across. I think I’ll have to try to break up this camp and create at least two to get all of the projects done! Not to mention the idea posited by one of the moms: Fairy House Workshops for Parents! What a great idea!

